How to customize writing projects in Story Planner?
To customize a project, open it and tap the Settings button at the top of the screen. From there, you can change the structure of your project and choose whether to organize it by Acts, Chapters, Parts, or Episodes.
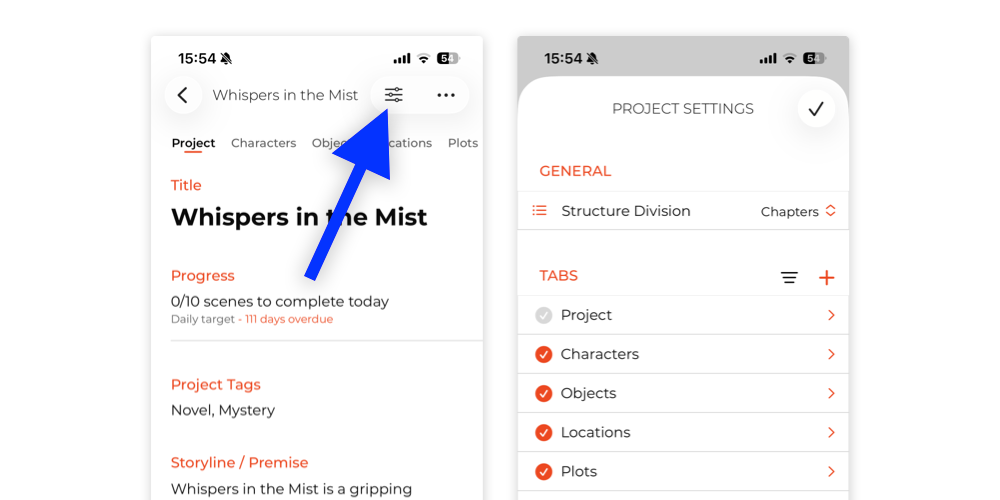
In the Project Settings, you can create new tabs, reorganize or rename existing ones, and customize the content shown in the cards within each tab.
Besides, you can enter in the configuration to any of that tabs to choose choose which fields you want to show in the cards, and which tabs include an image gallery and which ones do not. This helps you keep your project cleaner, more focused, and better adapted to your writing process.
How to change the language of the app?
You can add as many images as you want to character and location cards in Story Planner.
If you are using an iPad or Mac, you can add images by dragging and dropping them onto the card, as shown in this video.
If you are using an iPhone, or if you prefer not to use drag and drop, open the card and tap the camera icon at the bottom. Then, choose the image you want to add.
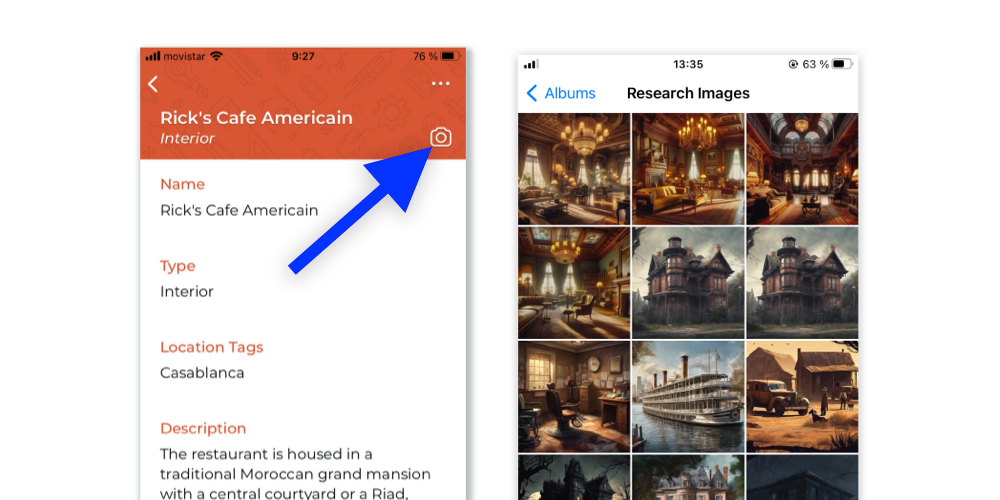
Once selected, you can adjust the size and crop of the image using your fingers. On Mac, you can use your trackpad or mouse. When the image is positioned correctly, tap Use.
After adding a picture, it will appear on the card. If you tap the camera icon again, you will see additional options.
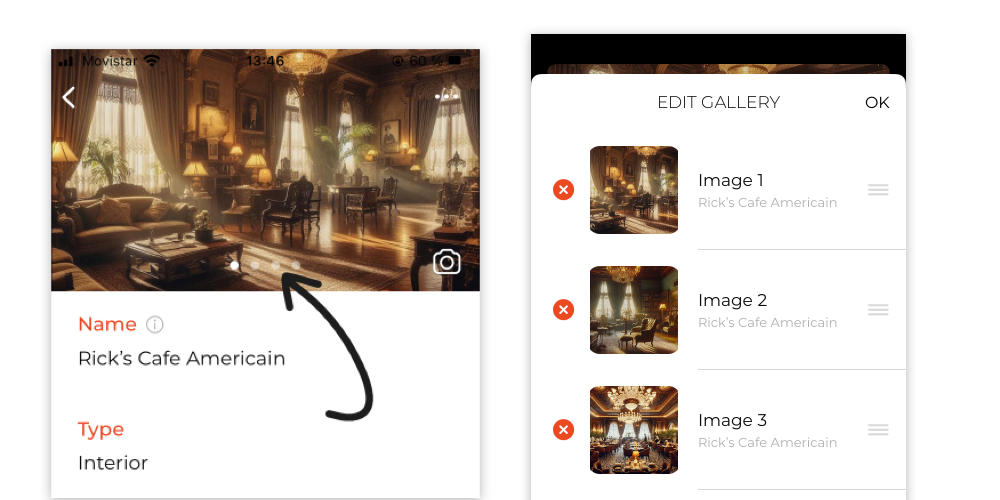
When you add more than one image, navigation dots will appear on the card, allowing you to swipe through the gallery.
From the Edit Gallery screen, you can rearrange or delete your photos.